

Time to break a couple of laws of physics, my friends.
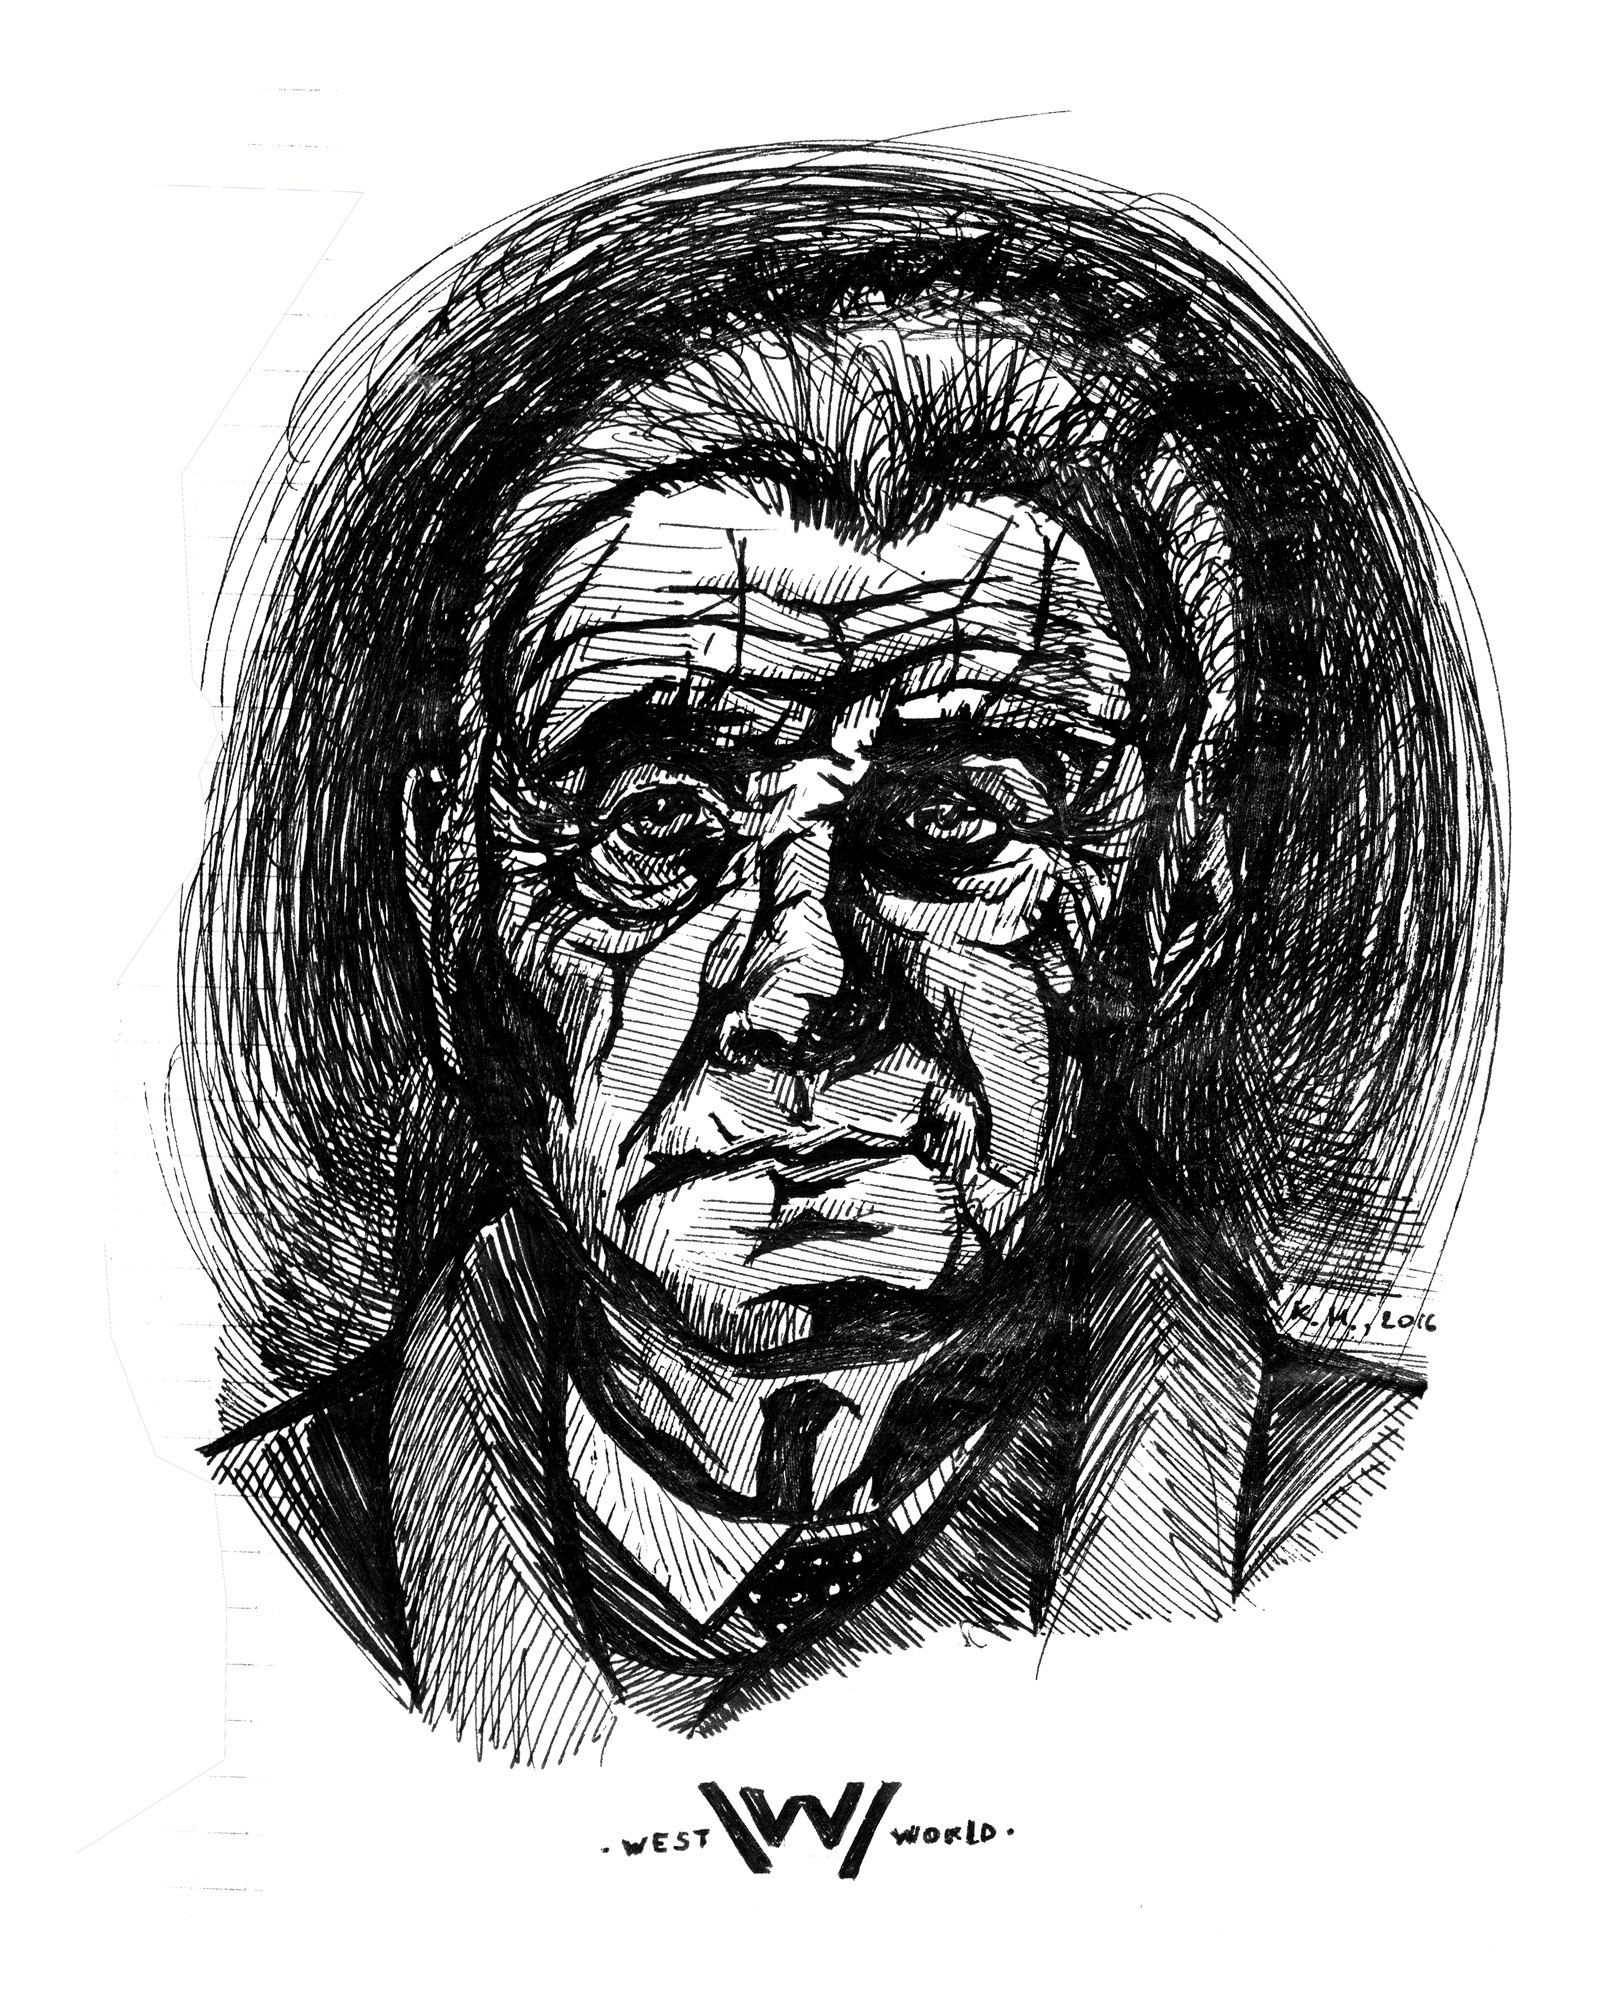
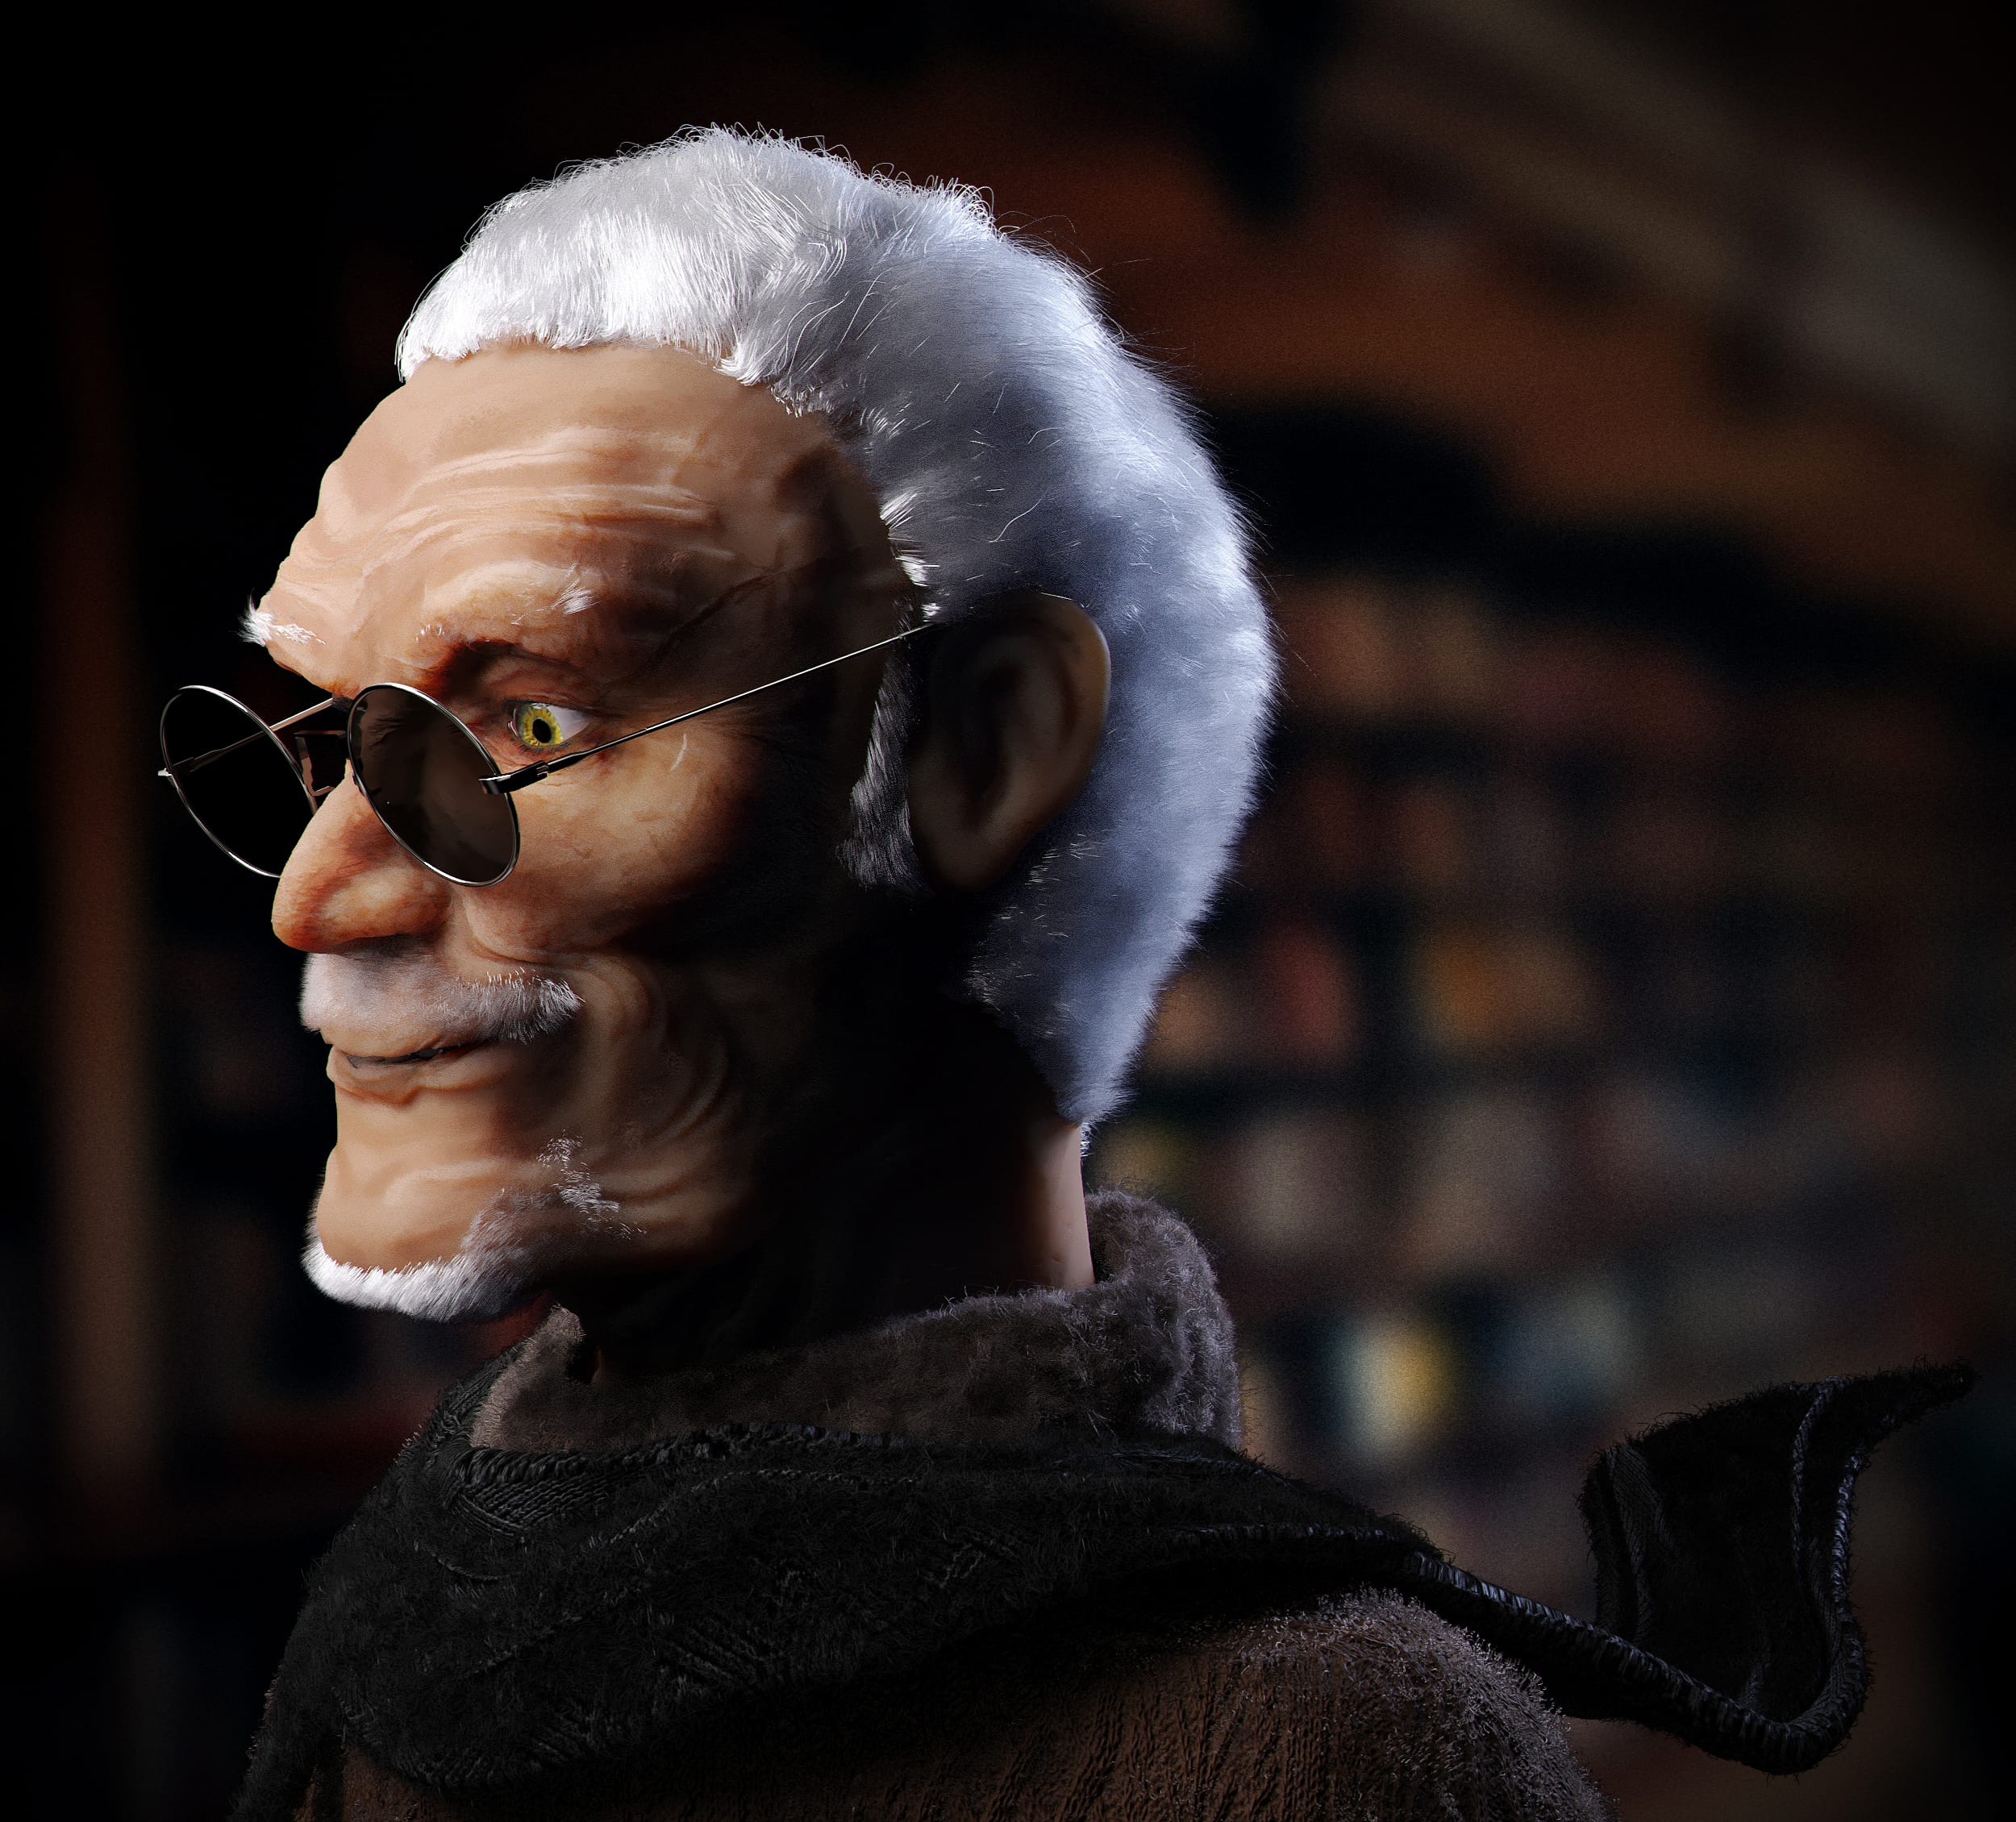
Edward G. Preyfield, professor of physics at Oxford (1916 -…)
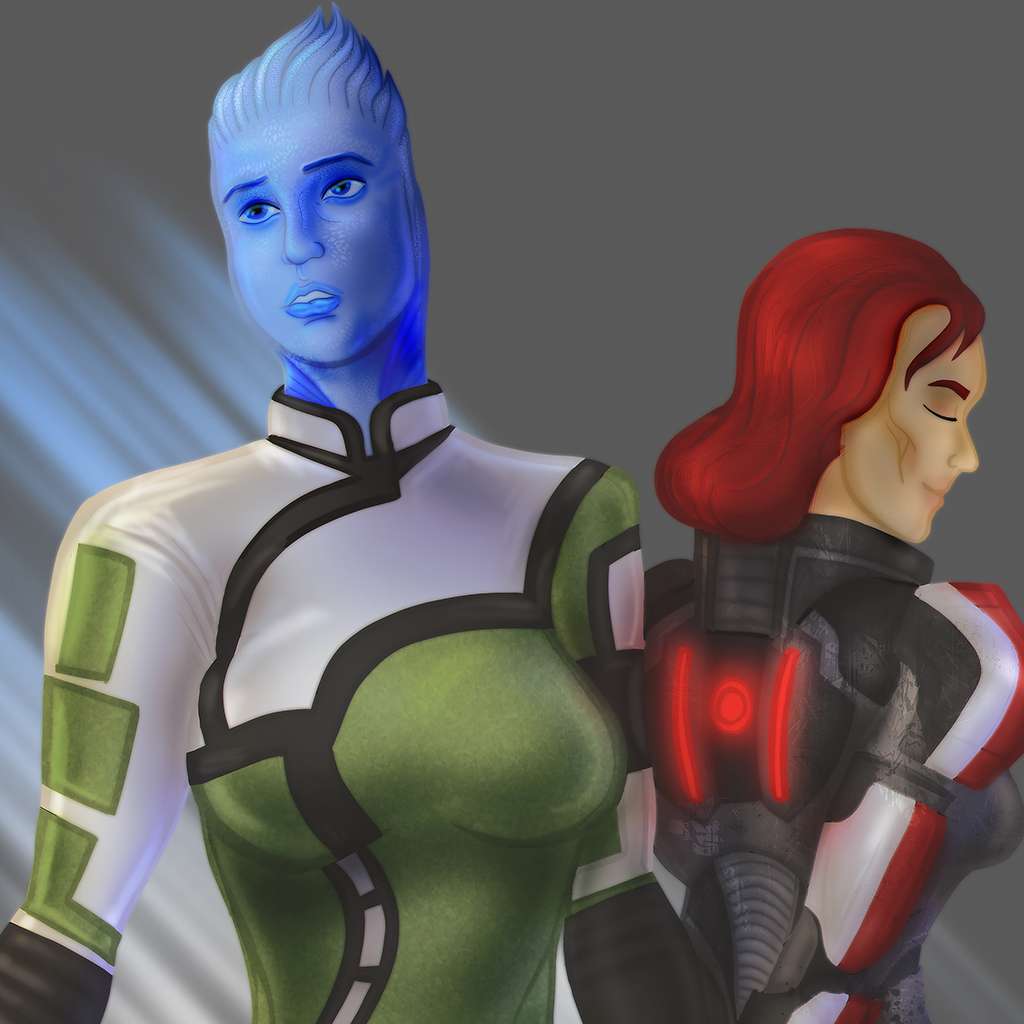
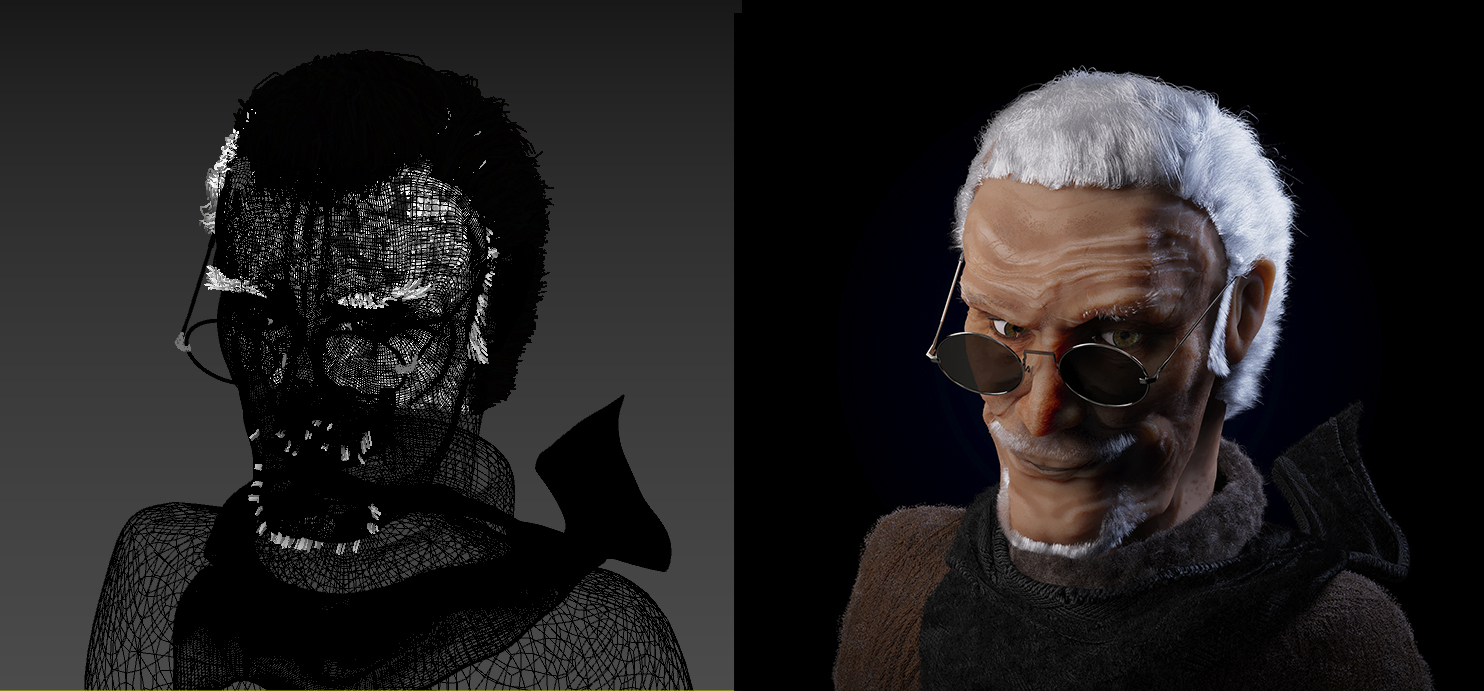
A portrait of the main character of my project, an eccentric scientist, inventor and adventurer from 1960s England.
The goal of the project was to continue practicing 3D character modeling and generally improve my skill level a little. It was done mainly in a bundle of 3ds Max + Corona, using Sculptris and Photoshop.
Below is how it was done:
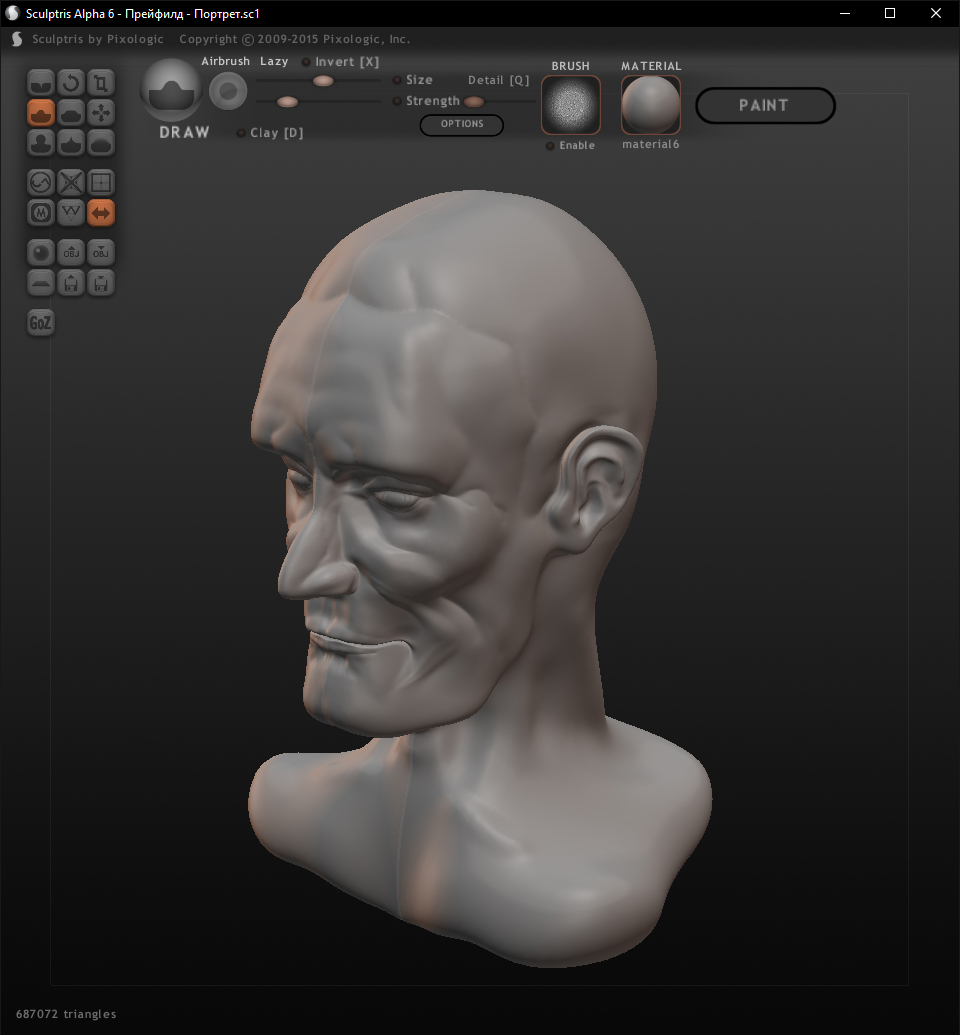
The head was sculpted in Sculptris, a free 3D modeling program similar to ZBrush.
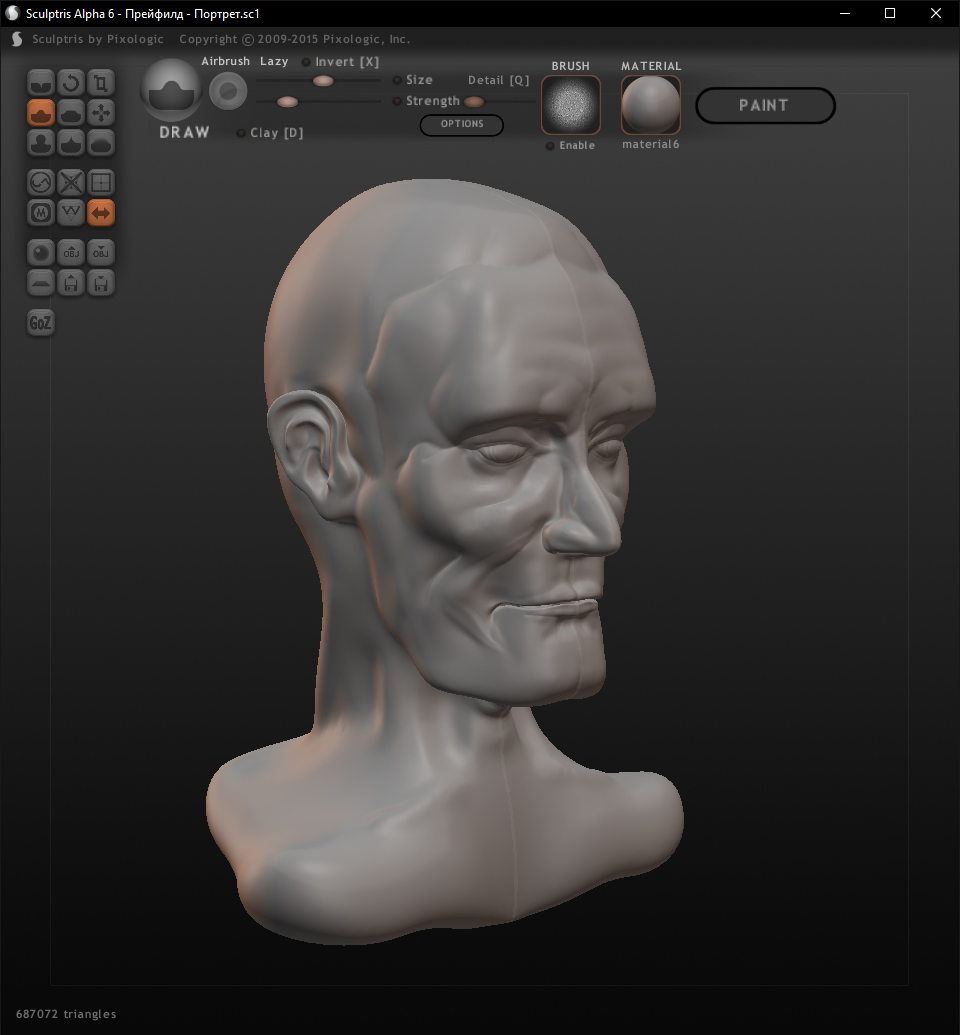
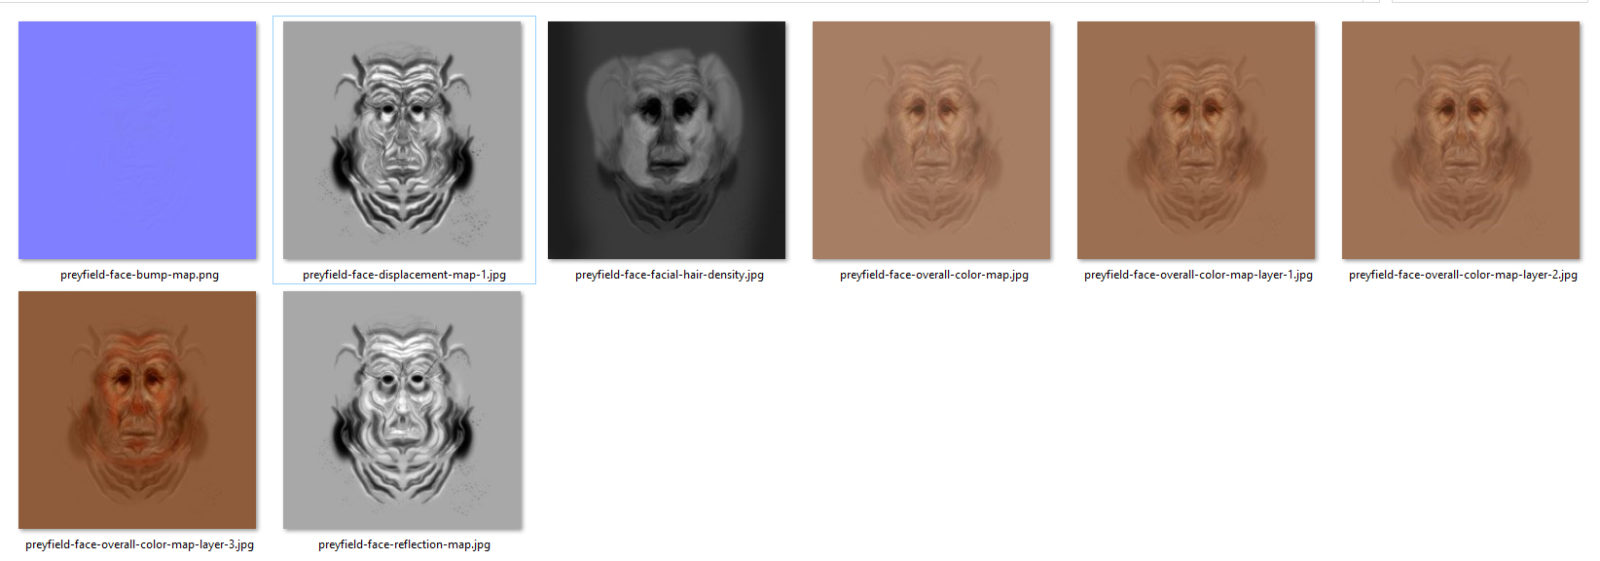
When the unwraping was ready, I transferred it into Photoshop and started painting the texture of the face, checking how it would look on the model. When the result was more or less satisfactory, I made the rest of the textures for the leather material: different texture options for subsurface scattering (this is the effect that, for example, makes your ears appear red in the light, and plant leaves appear bright green), gloss maps , small relief and most importantly – replacements, or large relief to add those details on the render that were “lost” during retopology. They do it in a similar way in games: they simplify the models as they can, but draw out the picture using materials from realistic textures, including bump maps.
Then I imported the model into 3ds Max, which I mainly work with. It was impossible to use the model in this form due to the too high density of the mesh, so I made a retopology – I drew a new one on top of this model, but with a shallower mesh.
The next task was to do the correct unwrapping – to set the coordinates so that the skin texture would lay down correctly. This is a required step, otherwise the drawing will look strange.
When I finished with textures, I got this set of textures – and this is just for the face.
And after setting up the material, carefully adjusting the parameters and setting the portrait light, the scene looked something like this.
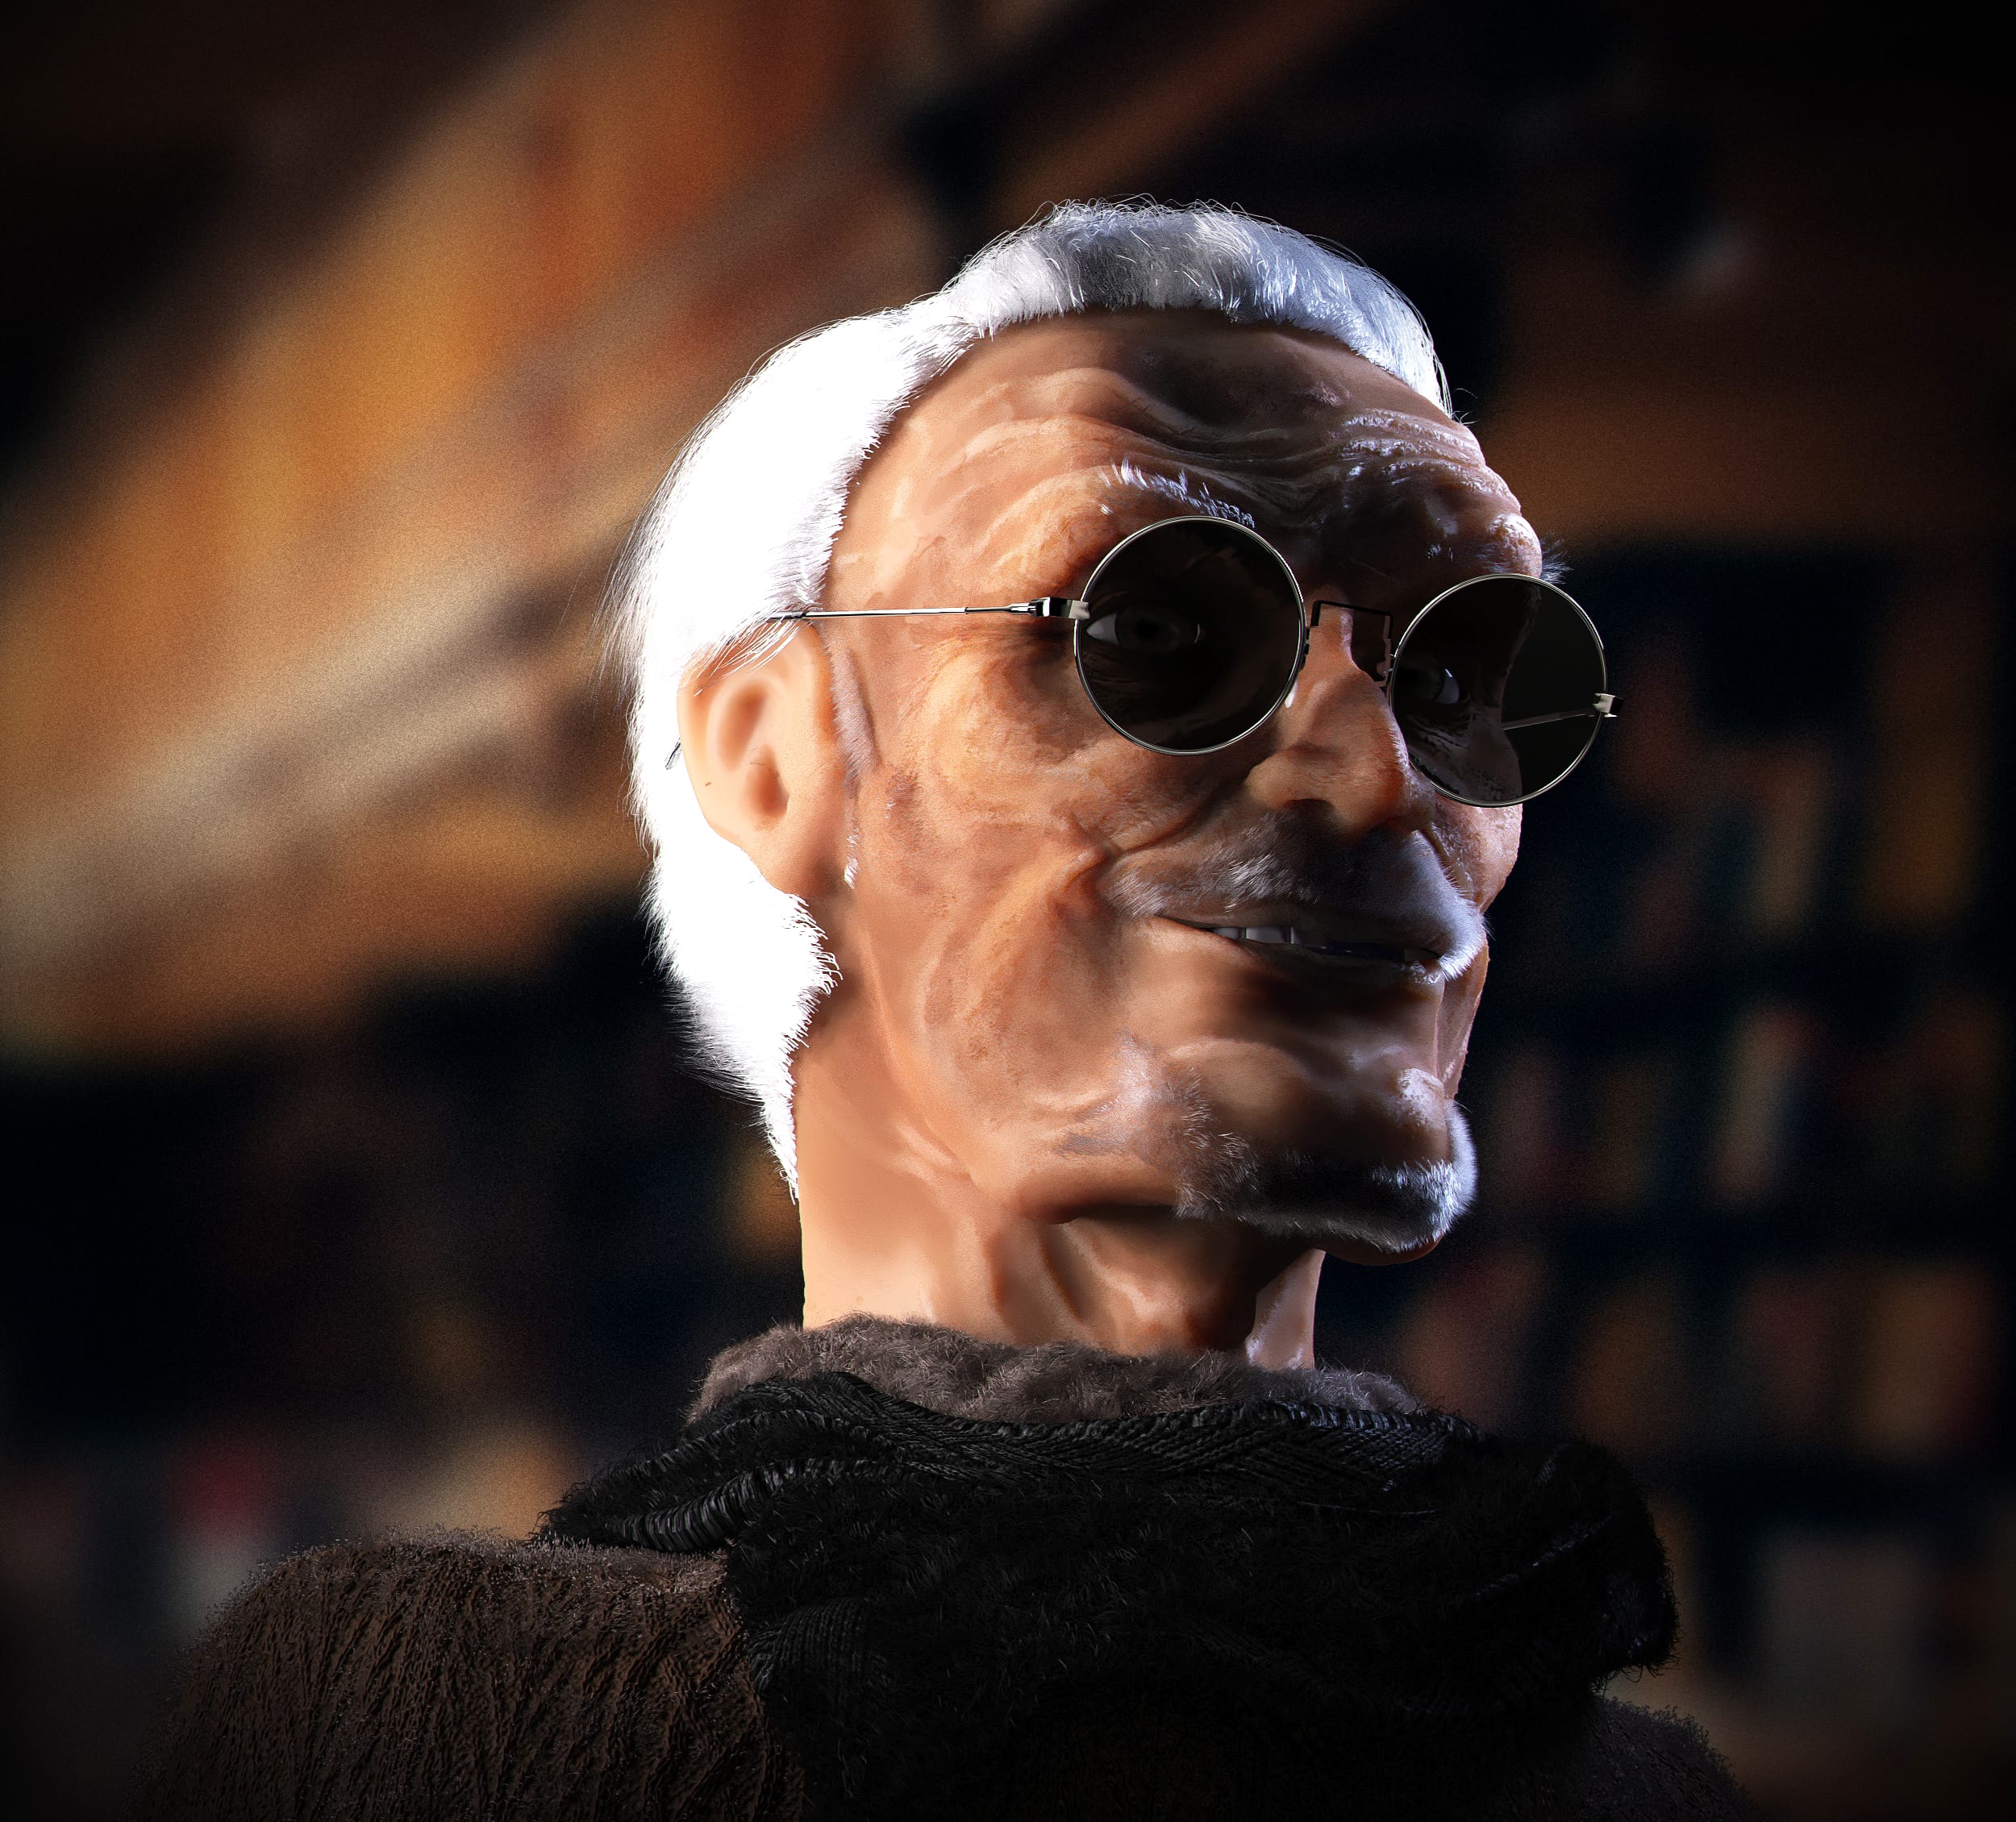
The next step was to draw the eyes and eyelashes, make them realistic material … and do the hair. It turned out to be interesting with it: in order to achieve the desired effect more or less quickly, I had to divide the base for hair growth into three separate objects and comb them separately. The fourth object was the mustache and beard, the fifth was the eyebrows, and the sixth was the sideburns. When they were ready and set up, I tied them to my main head and did some facial expressions to make sure the hair follows the skin.
A separate headache was the fur on the sweater and scarf when I drew them: before that I hadn’t rendered so much fur, and the computer refused to render the entire scene together. I had to greatly optimize the process (it did not work out completely, as with some other details, which I will definitely take into account next time – perhaps it will not be realistic, but a stylized character?).

It was a challenging project done in my spare time, and I am not entirely happy with the result. But you cannot climb to the top, constantly staying below. Continuously move on, even if it seems to you that you have not achieved anything and will not achieve anything. This is not true.
Just move on. Be better than yourself yesterday. And you will succeed. We all will.
Goodness and peace ✌
0Self-taught artist, writing his first book, dreaming of bigger things & drawing something he enjoys with passion and hope to get better in skills.
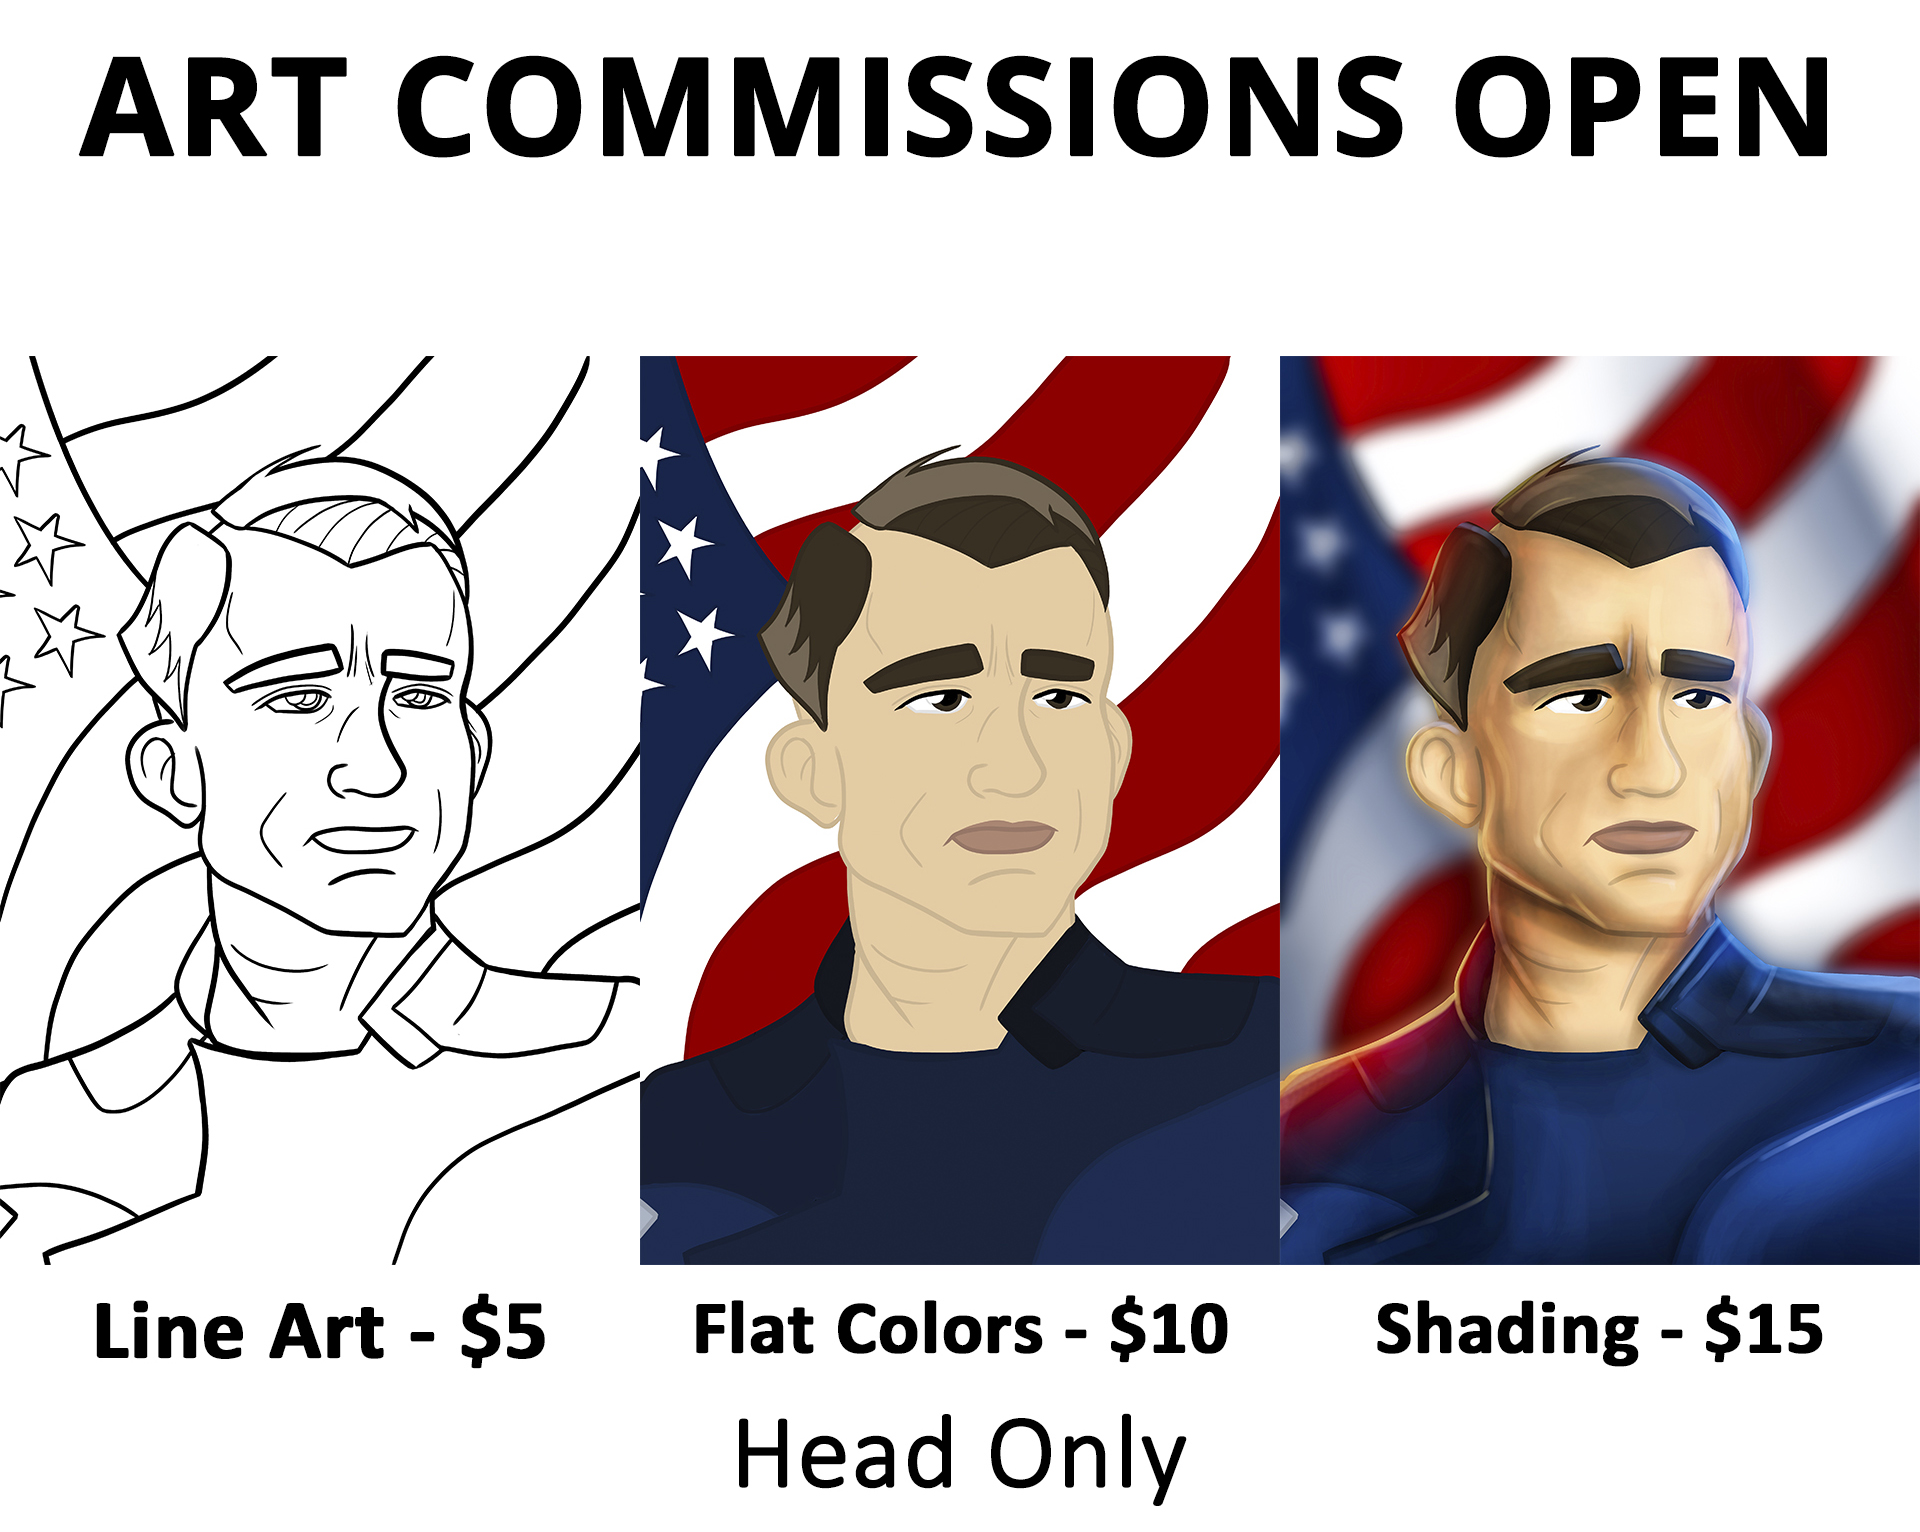
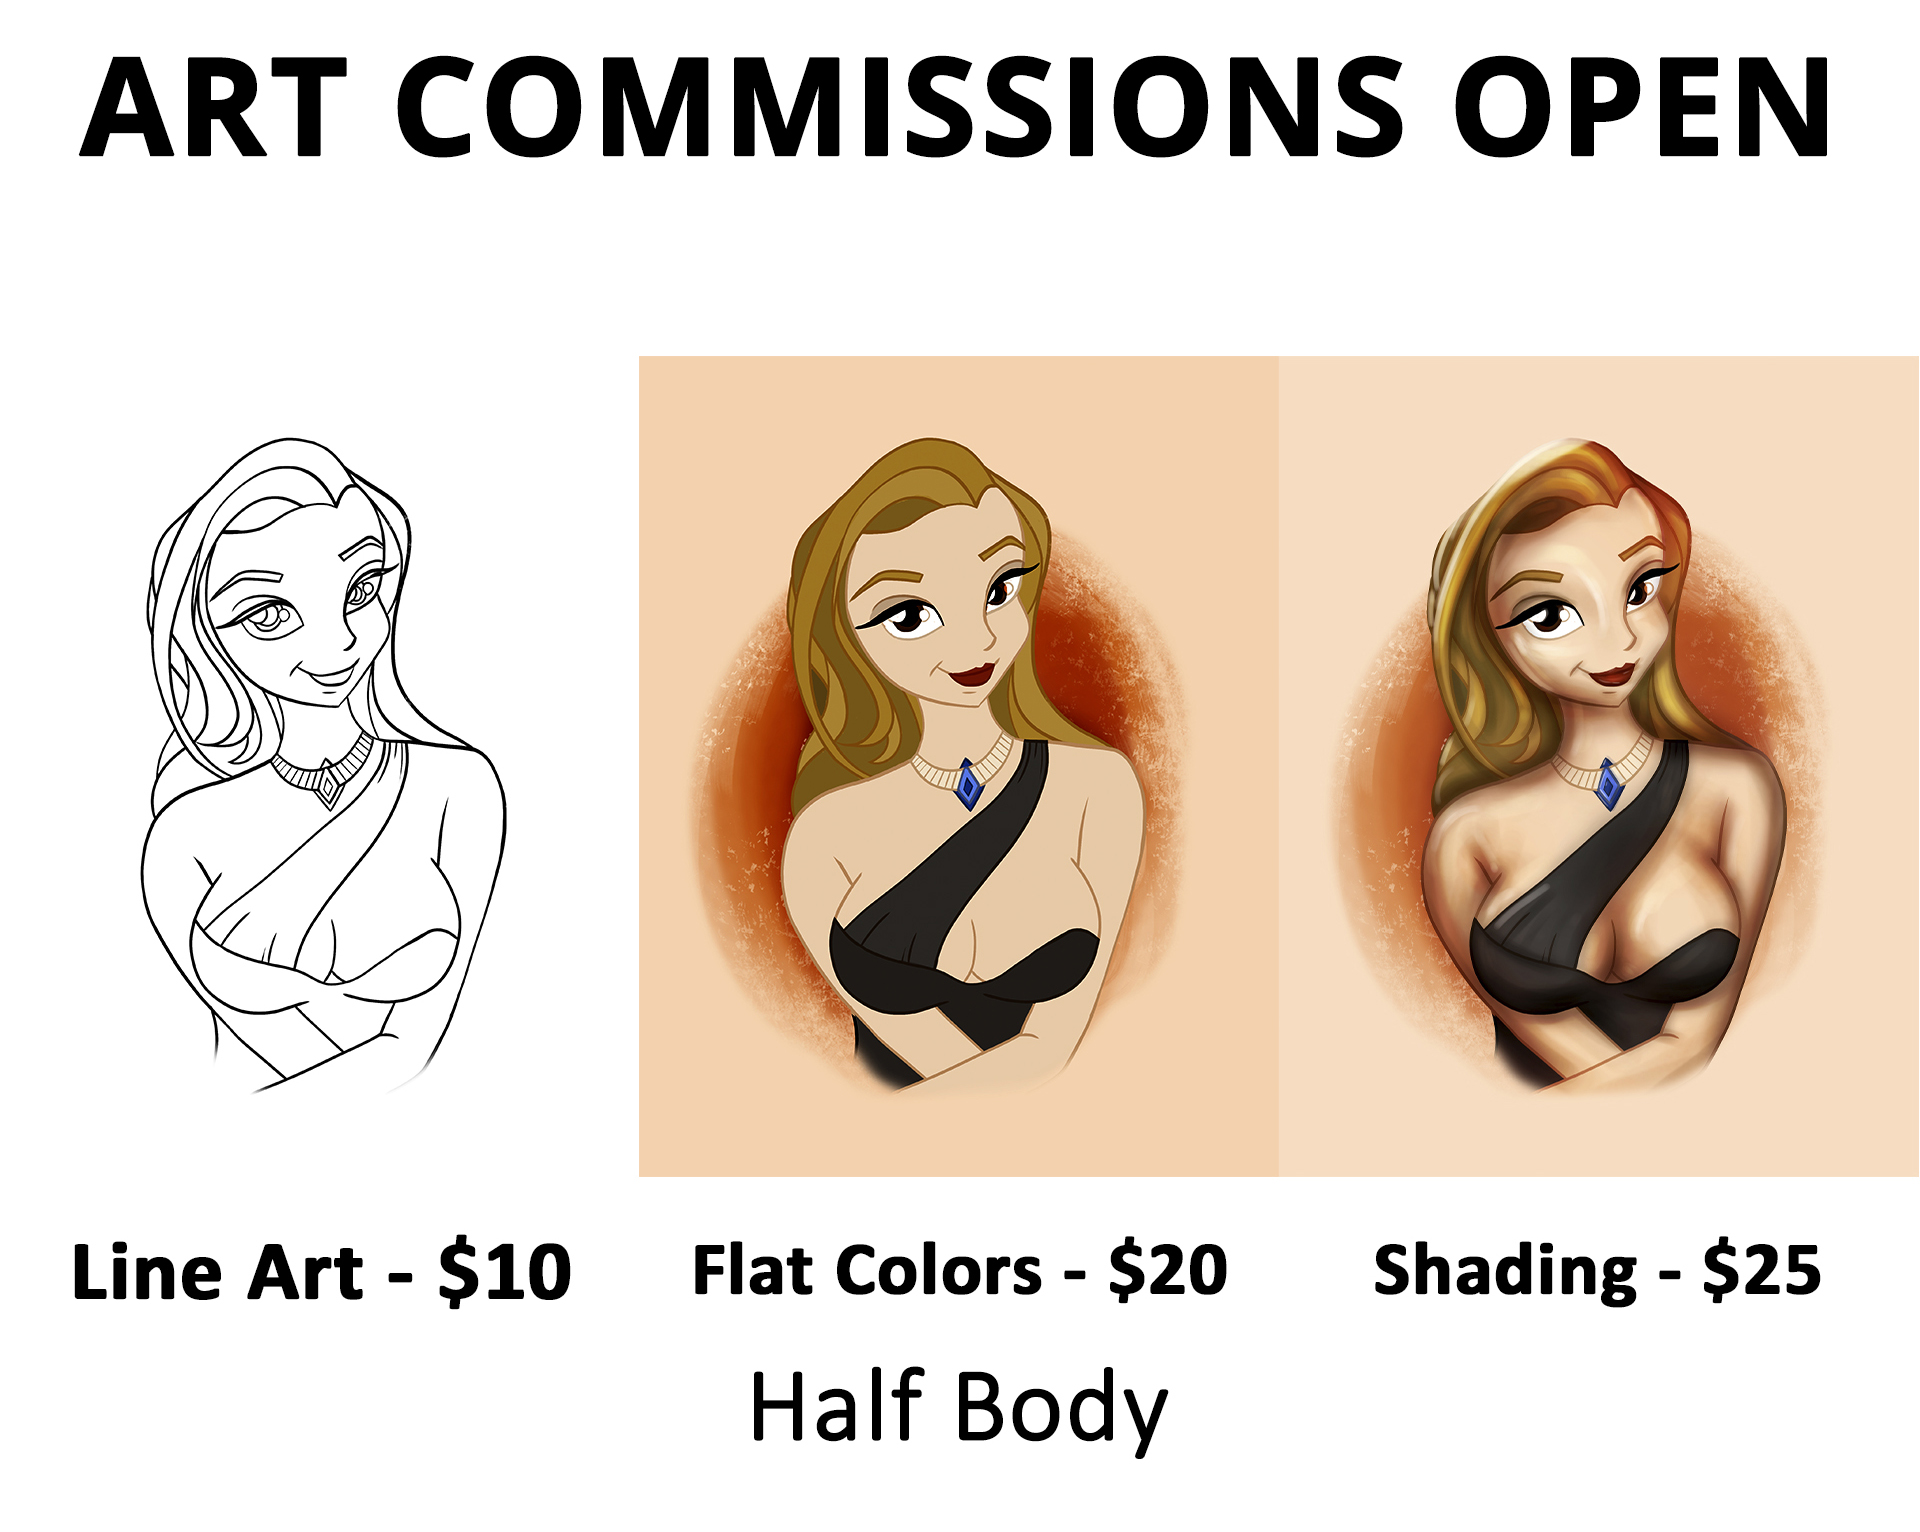
<strong>ART COMMISSIONS OPEN</strong>: If you need some <a href="https://www.fiverr.com/share/3KRl49">stylized cartoon art</a>, I’d be just happy to work with you.